Quick Start
This guide will help you get up and running with a Framer Plugin.
Installation
To get started with Plugins, you can run npm create framer-plugin@latest in your terminal. This will walk you through a few steps and will create a new Plugin folder with a basic Plugin setup. If you prefer something other than npm, all major package managers are supported.
Manual Installation
If you have an existing project you’d like to use the Plugin API from, you can install the
framer-pluginpackage directly. However we currently do not officially support this.
Running your Plugin
After the initial setup, navigate into your Plugin folder using cd your-plugin and then run npm run dev. This command is what you’ll need to run at each time you want to develop your Plugin. With this dev command running, your Plugin can be picked up by Framer and will automatically update when you change any files from within your Plugin folder.
Node Version too low?
Framer uses the latest libraries that require a modern version of node. We recommend upgrading node or using a node version manager like
nif you swap versions often.
Opening in Framer
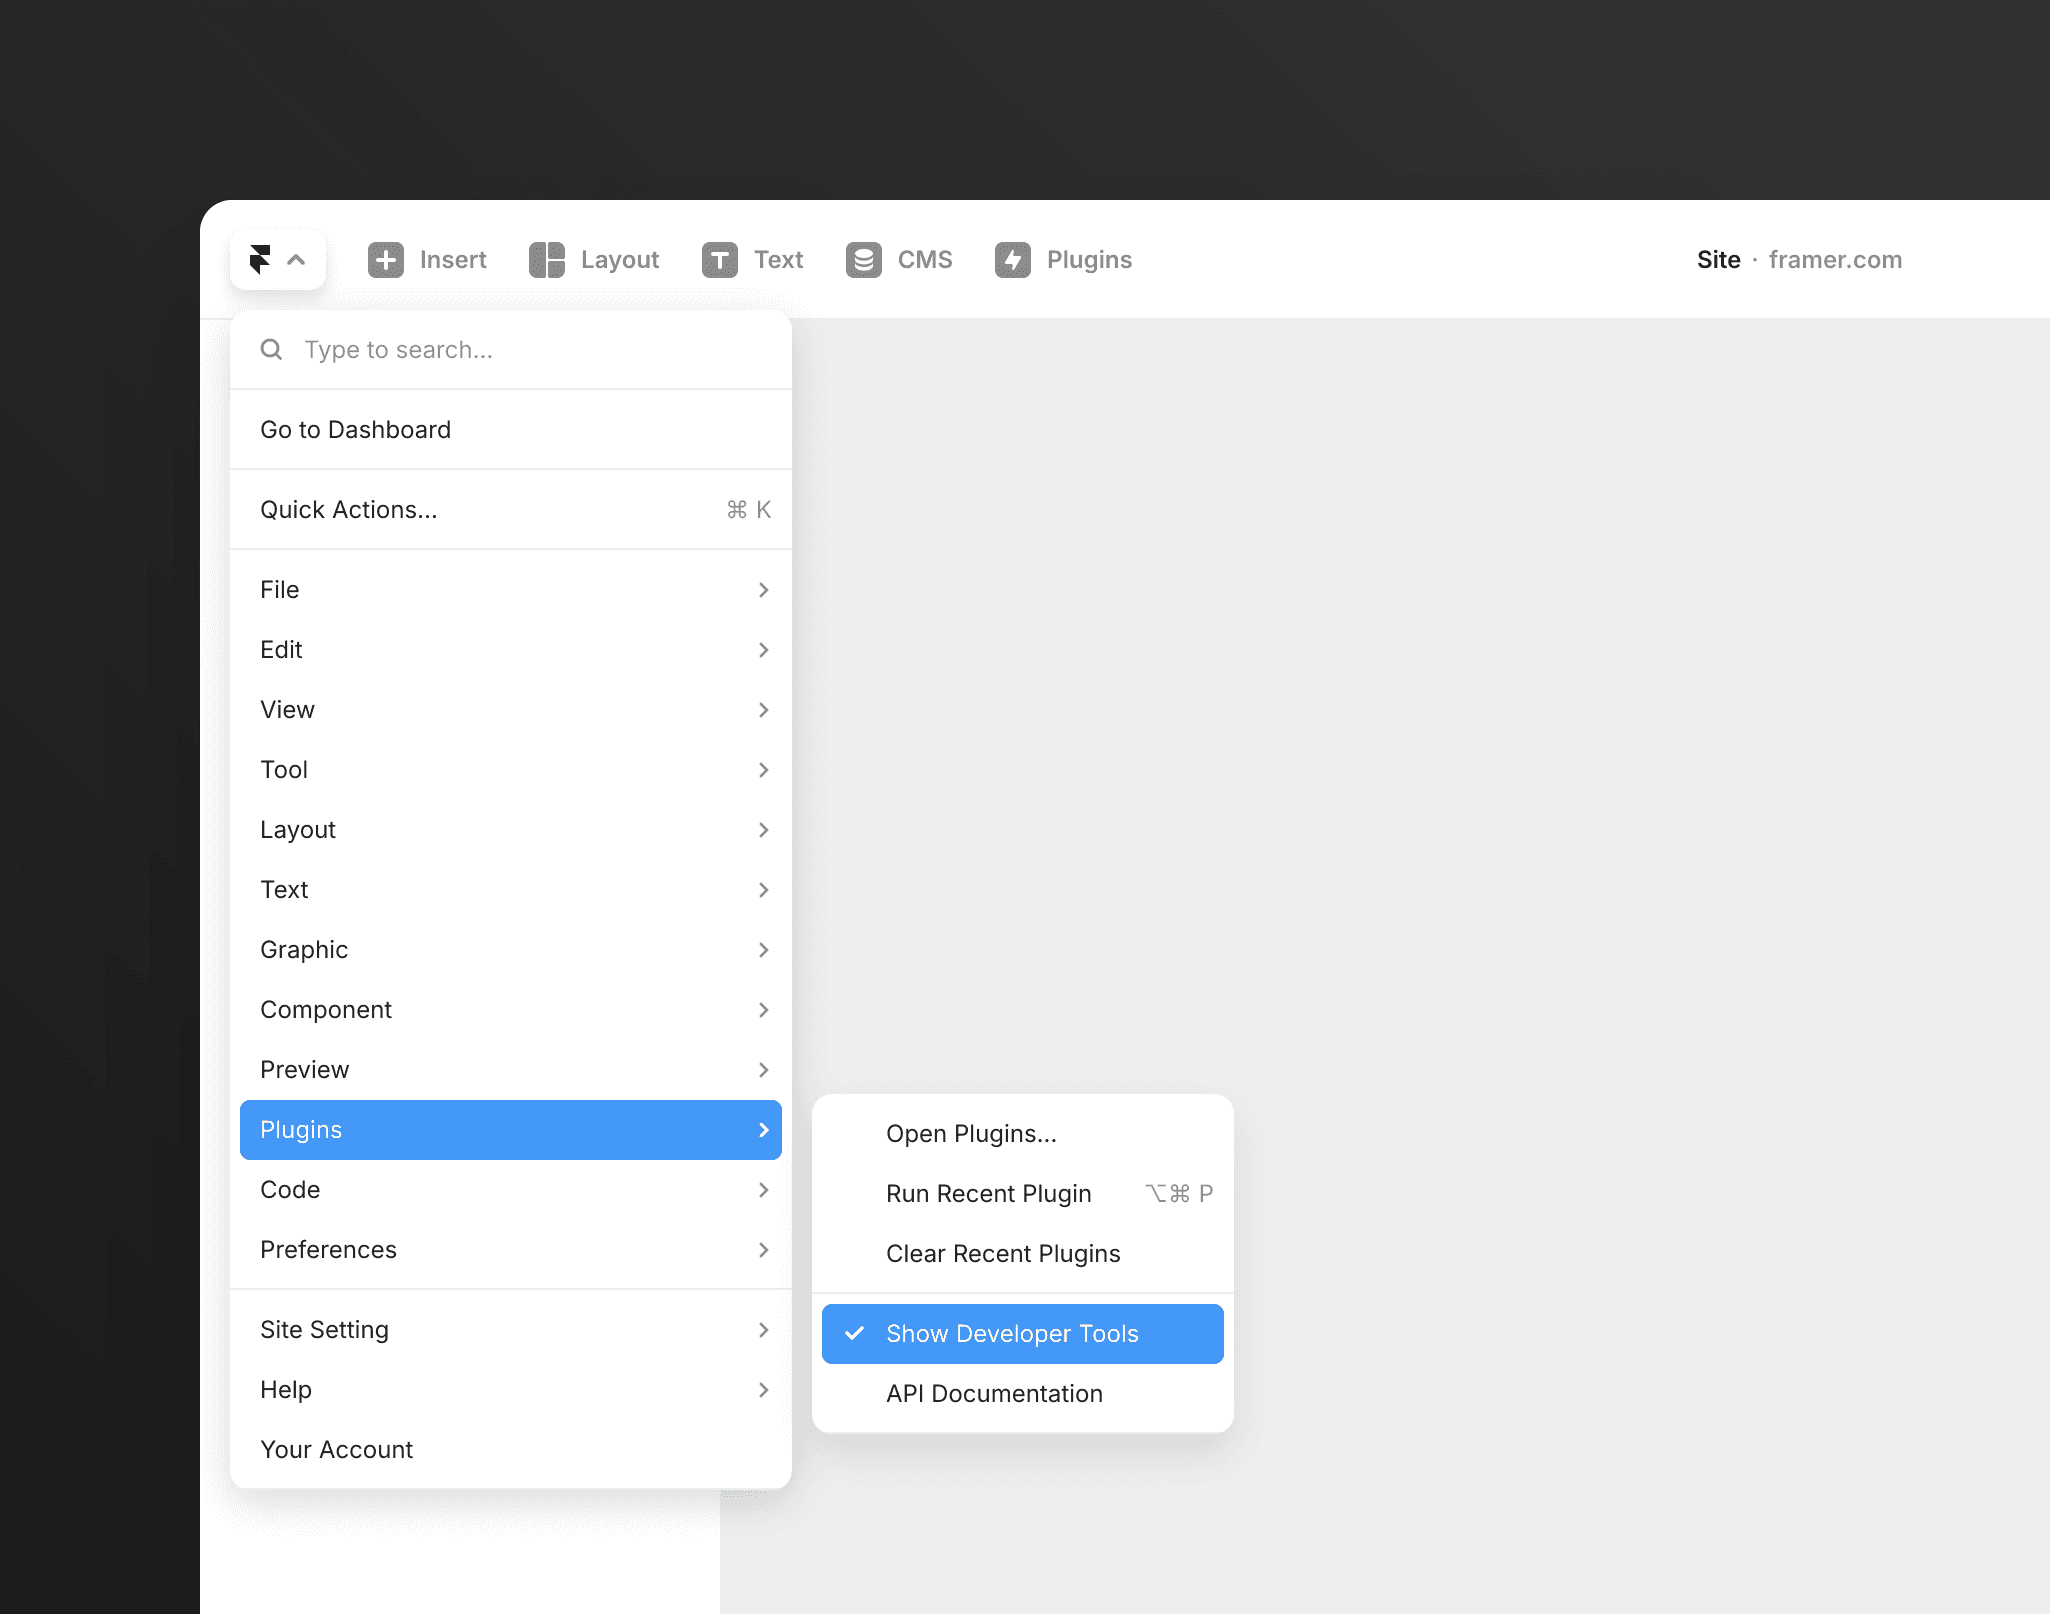
Now you have a Plugin running on your computer the next step is opening it within Framer. You'll need to enable the Developer Tools preference from within the Plugin section in the main menu.

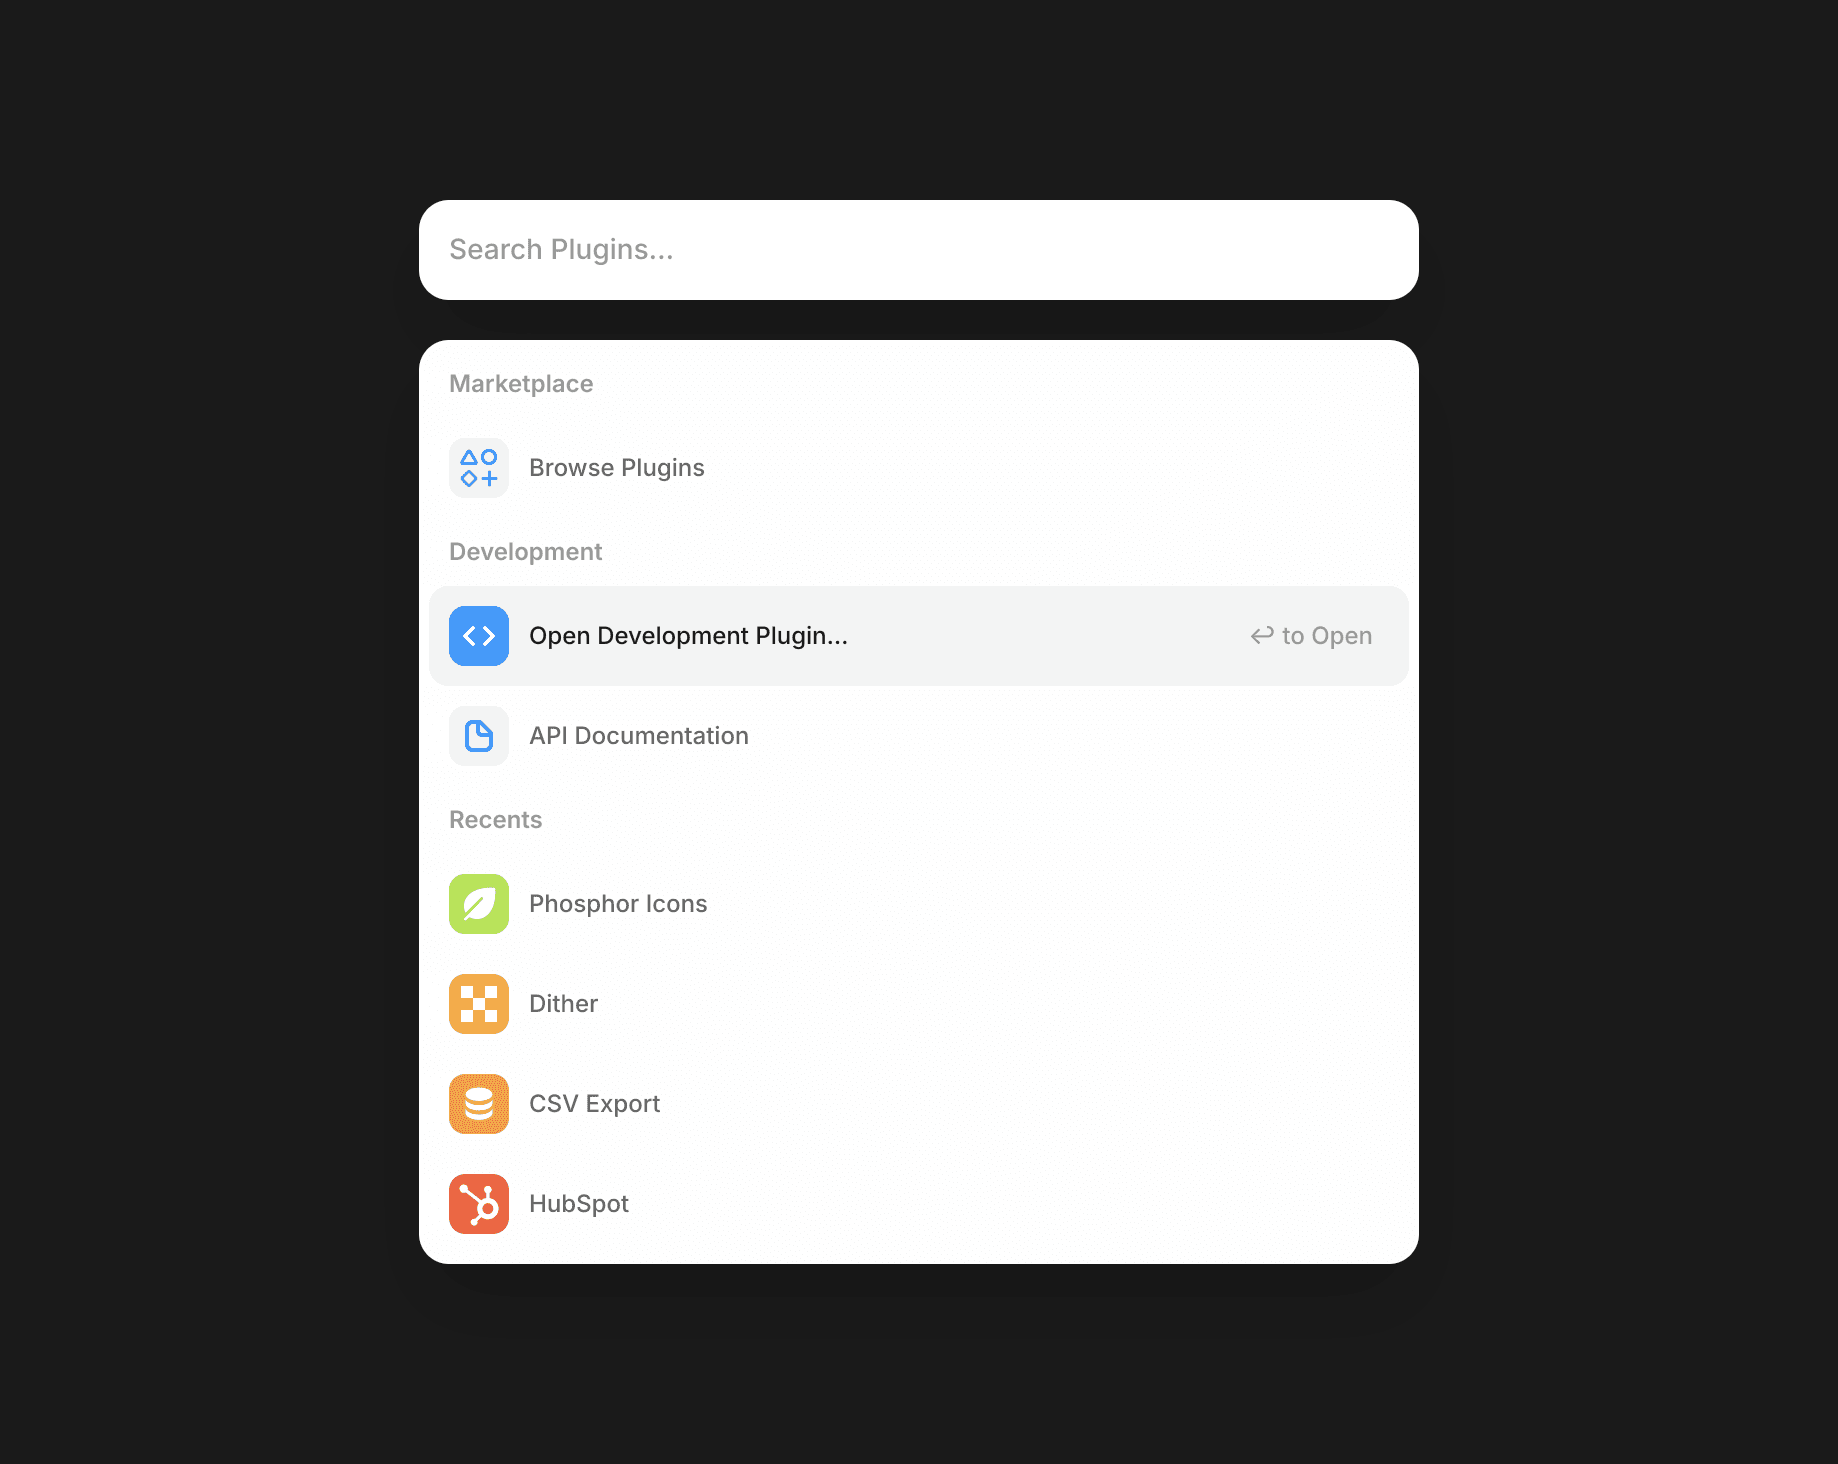
Once Developer Tools are enabled, open the Plugin menu from the toolbar, and click “Open Development Plugin”. This will run your Plugin.
Ad-blockers
Some Ad-blockers or browsers like Brave try to restrict access to localhost. If you have issues running your development Plugin, allow-listing framer.com may help.

Now that your Plugin up and running, you can add some functionality to your app. Some ways to start would be to try manipulating Nodes, inserting Components, syncing to the CMS, or to start styling your plugin.